How to Save iPhone Photos to An External Hard Drive
Dec 09, 2025
How to Save iPhone Photos to an External Hard Drive (The Easiest Method for Busy Moms!)
If you’ve ever worried about losing the photos on your iPhone… same.
Between baby pictures, vacation memories, and all the tiny everyday moments, the thought of losing our kids’ photos feels like an actual nightmare.
The good news? Backing up your iPhone photos to an external hard drive is SO easy, and once you know how, you’ll never stress about losing memories again.
This post walks you through the simplest, most foolproof way to save iPhone photos to an external hard drive—no special software, no tech skills required. I also created a short Instagram reel showing exactly how I do it (linked below!).
This works whether you want to:
-
Free up space on your iPhone
-
Create a physical backup instead of relying on the cloud
-
Organize years of photos in one safe place
-
Have peace of mind knowing your memories are protected
Let’s make this simple.
How to Save iPhone Photos to an External Hard Drive (Step-by-Step)
This method works on any Mac laptop or desktop using the built-in Photos app. If you’re a mom who wants something straightforward and reliable—this is it.
Step 1: Plug in Your iPhone + External Hard Drive
Use your charging cable to plug your iPhone into your computer.
Then plug in your external hard drive to a USB port.
Your computer should recognize both instantly.
I use a Seagate external hard drive that I've had for years, but I'm sure any will work just fine!
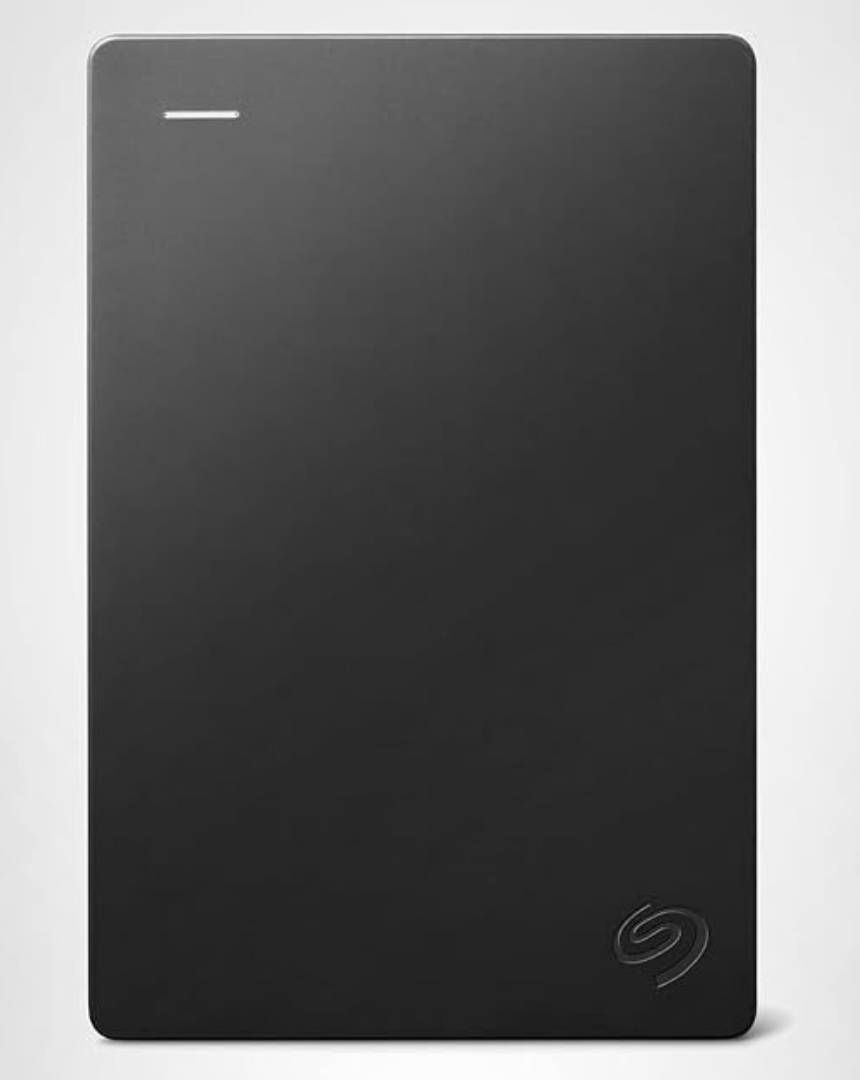
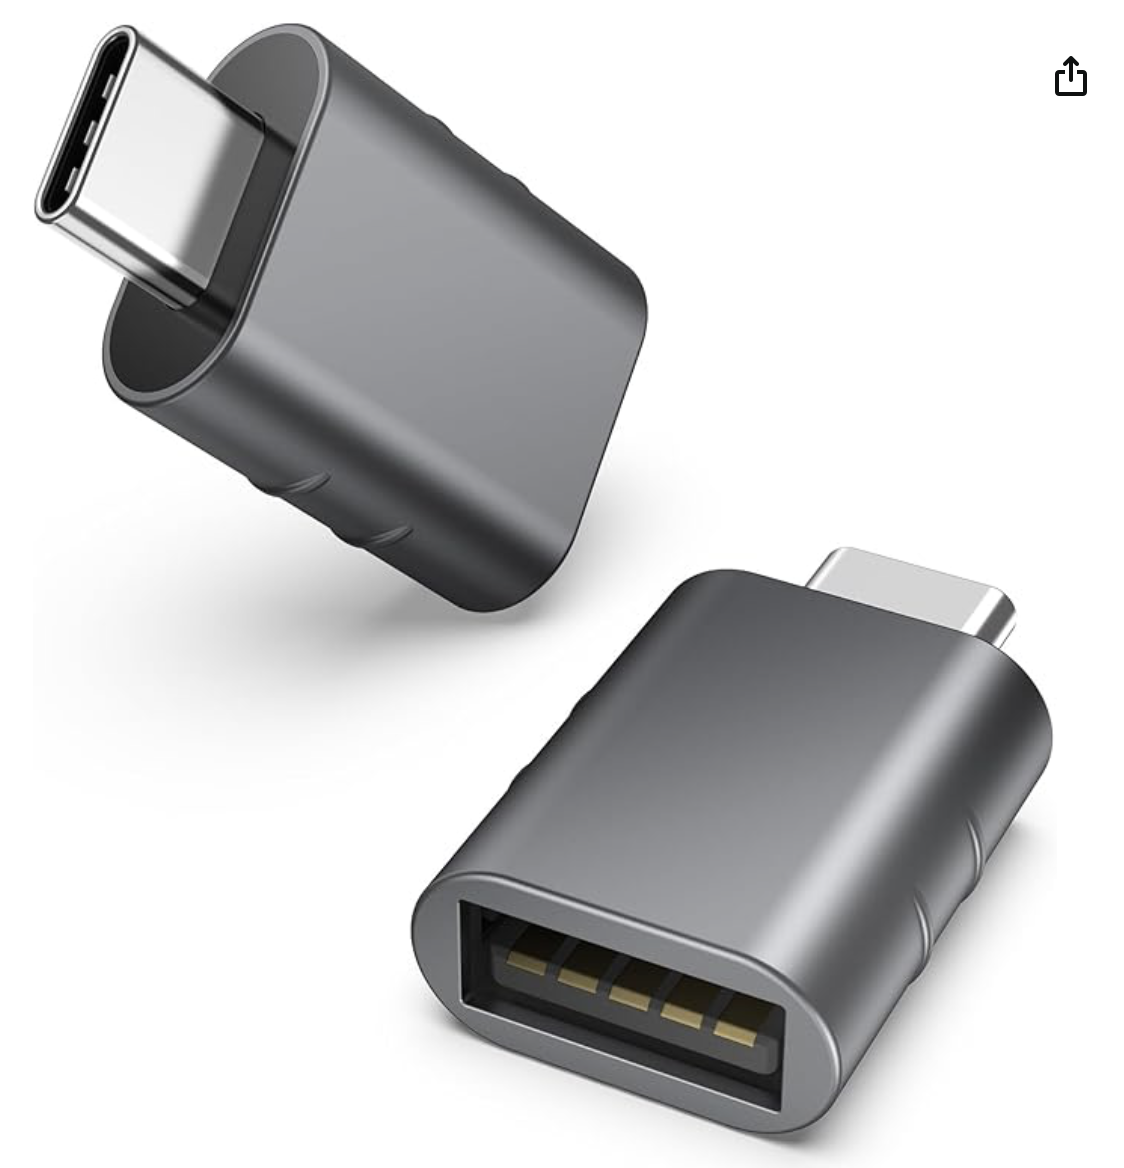
Just make sure the cable it comes with can connect to your laptop. I have to use a USB C to USB adapter like this one. (This device has come in handy many times!)
Step 2: Open the “Photos” App on Your Mac
This app comes pre-installed on every Mac.
Inside the Photos app, you’ll see all your iPhone photos—organized exactly as they appear on your phone.
Step 3: Open Your External Hard Drive Folder
On your desktop or Finder sidebar, click your external hard drive.
You can create folders like:
-
“Photos 2023”
-
“Kids – Year 4”
-
“Vacations”
Or keep it super simple and sort later. There’s no wrong way!
I personally organize mine by year because it makes everything so much easier to find.
Step 4: Drag & Drop Your Photos
Select the photos or albums you want to back up, then drag them from Photos → into your hard drive folder.
That’s it! A copy will move over to the hard drive.
Nothing is deleted from your iPhone during this process.
(But if you want extra credit, this is a great time to delete duplicates or screenshots we all forget about!)
Step 5: Repeat Every Month or Two
I back up every couple of months, but at the end of each month would be ideal.
That way, even if you did lose your phone, you’d never lose more than 30 days of photos—and the process only takes minutes.
Peace of mind: restored.
Watch the Tutorial Reel
I made a quick Instagram reel walking through this exact process so you can see it in real time.
Watch it here:

Final Thoughts: Protect the Memories That Matter Most
This backup method is simple, fast, and something anyone can do—no tech skills needed.
If keeping your kids’ photos safe brings you peace of mind, I hope this helps you as much as it helps me.
You’ve got this!
SUBSCRIBE FOR WEEKLY LIFE LESSONS
Lorem ipsum dolor sit amet, metus at rhoncus dapibus, habitasse vitae cubilia odio sed.
We hate SPAM. We will never sell your information, for any reason.
